Sunday, April 20, 2014

Chicken Dum Biriyani

Biriyani...who doesn't like biriyani,right?!! This biriyani has a unique taste that is worth giving it a try.I learnt this recipie from one of our friends family.Many thanks to Usha aunty for sharing her wonderful recipe with me.Absolutely loved it...... what more can I say...:) Give it a try and you will love it too...:)


Ingredients :
Rice                     - 4 cups
Onion                  - 3 medium size(slice it)
Tomatoes            - 8 (chop  it)
Green Chillies    - 5
Ginger garlic paste - 3 Tbsp
Chicken                 - 2 & 1/2 lbs (1 &1/4 kg)
Mint                   - 1/2 bunch(chop it)
Cilantro             -  1/2  bunch(chop it)
Curd                   - 3 Tbsp
Turmeric powder - 1 tsp
Chillie powder    - 3Tbsp ( 11/2 Tbsp for the chicken marination and 11/2 Tbsp for the biriyani)
Biriyani masala - 1  Tbsp ( any brand)
Clove                 - 8
Cardamom         - 5
Cinnamon          - 4
Bay Leaves        - 2


First & foremost : Clean the chicken and marinate the chicken pieces with salt,chillie powder,
ginger garlic paste,chillie chicken powder.

Next cook rice.Boil 6 cups of water and add salt.Once the water is boiled add 4 cups rice and let it cook till the rice is half done, ie., the rice should not be completely cooked as we will later layer the rice with gravy and cook in the oven for like 45 minutes.So for a good layer biriyani,rice should be semi-cooked :) got it?


Take a big pan or big kadai ,heat it and add 1 cup of oil(yes I hear you,its 1 cup of oil :)
Then add Clove,Cardamom ,Cinnamon and Bay Leaves .Let it brown a little bit.
Then add the sliced onions and suate it well.
 

Saute onions till all its water evaporates.Then add green chillies followed by ginger garlic paste.
Saute it for few minutes until the raw smell disappears.


Then add the chopped tomatoes and sauté it well
 
Followed by it add chillie powder,turmeric powder,salt and any brand biriyani masala


    Saute it well,until oil seperates.


Add the marinated chicken.Keep the flame in medium,cover it with a lid and cook it until chicken is done.If you pressure cokk,just cook it for 10 minutes.


 Cook it until the gravy becomes thick as shown in the picture.


Now comes the finale.Coat the inside of a thick vessel with ghee.


Add a couple of scoops of the thick gravy at the bottom of the vessel.


Then add the semi-cooked rice on top of the gravy and sprinkle some chopped coriander and mint leaves.


Next add another layer of gravy with chicken.
Repeat the steps of layering.


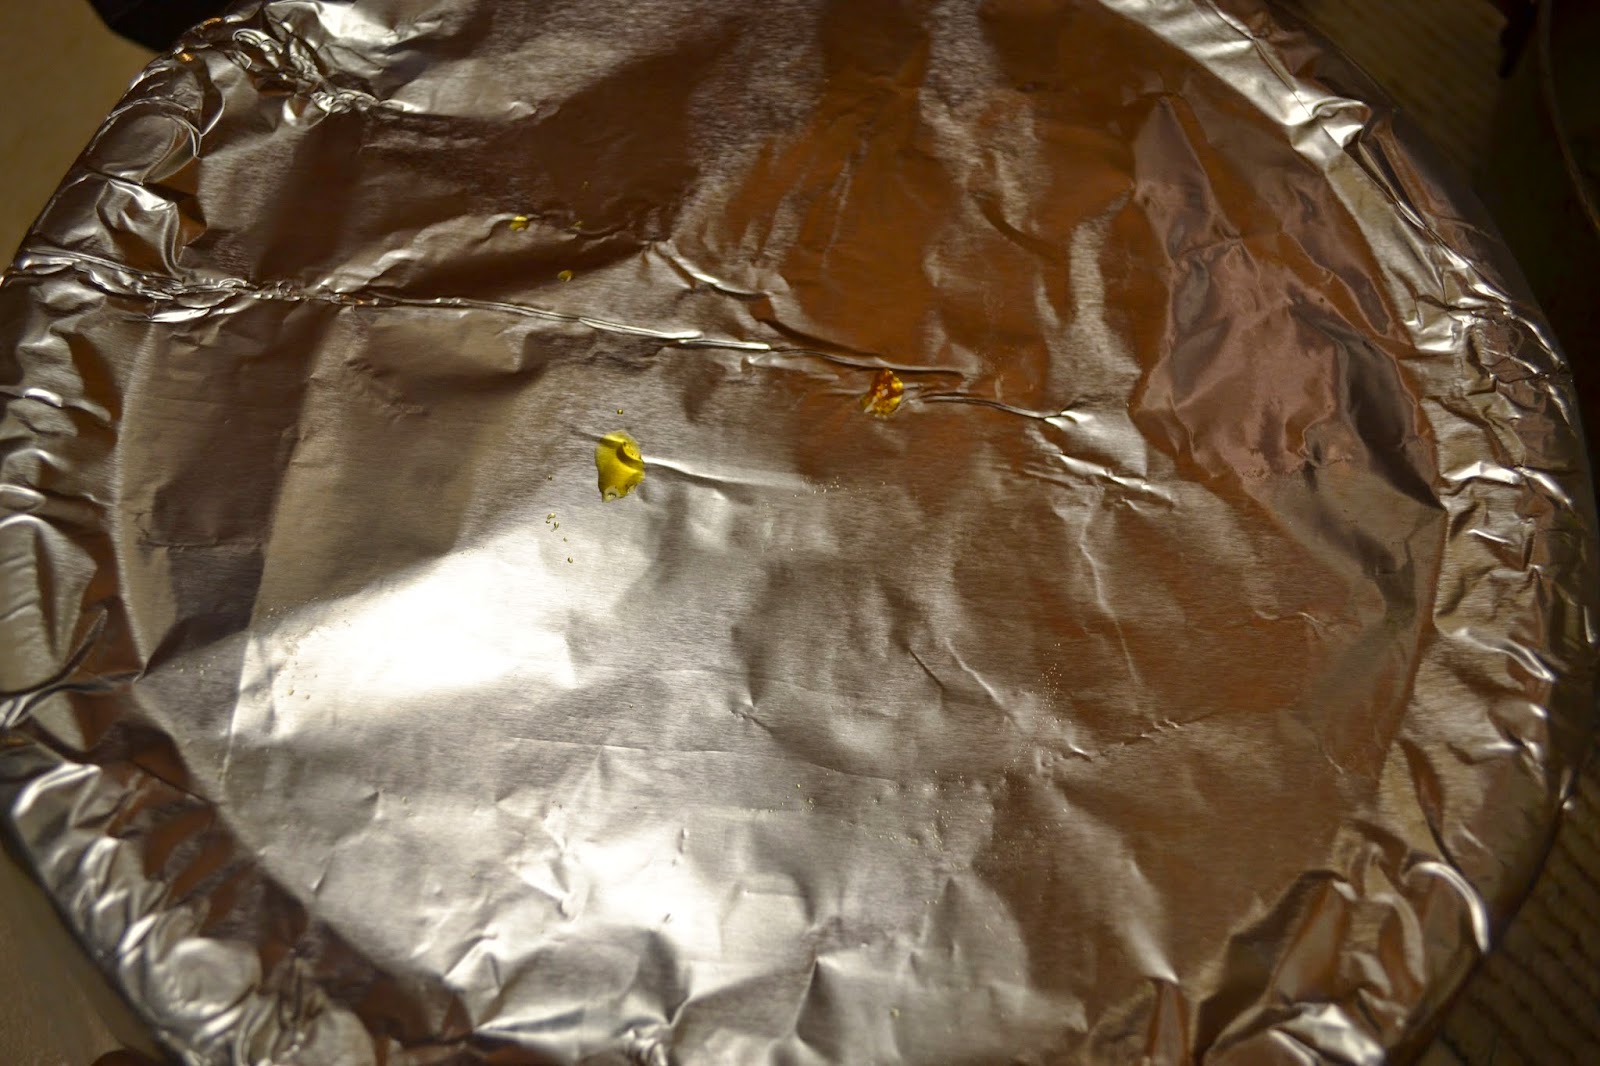
Close it with aluminium sheet tightly and place in the oven which is pre-heated to 450 degree for 30 to 45 minutes

 tada.... yummy biriyani ready....Enjoy with matching raitha.


Saturday, April 19, 2014

Adhirasam is my daughters all time favourite. My grandmother and my maternal aunt makes wonderful adhirasams. I was always frightened to try adhirasam thinking that it was a bit complicated
recipie and I have failed trying it once,i confess. But it was a big success this time.Follow the procedure as below step by step and you too will be proud as iam now.Ok here you go...


Ingredients:
Raw rice                 : 1 & 1/2 cups
Jaggery                   : 1 cup grated
Dry ginger powder :  2 pinches
Cardamom powder : 1 tsp
Oil                           : for frying (approximately 2 cups for this quantity)

 
 Soak rice for atleast 2 hrs.


Drain and spread it in a white cotton cloth for 30 minutes.When you touch the rice ,you should feel its moistureness.If its too dry,then the adhirasam will turn out hard.
I grinded in the small mixie jar ,so I had to grind it in two batches.
Seive the grinded rice flour and keep it seperate


Now in a separate vessel,add 1 cup of jagerry with 1/2 cup of water and let it boil to make the paghu/pakkam

To check the patham/consistency of the paghu,take little water in a cup and drop a bit of the paghu in the water.As you see below,the paghu should not get dissolved in the water,instead it should remain
intact.You should be able to roll that drop into a small ball.Ghe patham/consitancy of the paghu is very important.
Now add this paghu to the grinded rice flour LITTLE by LITTLE. Don't get over excited and add all at once,then you will end up getting some other pathartham instead of adhirasam :)


 The final product will be like this.It shouldn't be too thick nor watery.Let it sit in an airtight container for like one/two days...... longer  than 2 days ,I would recommend putting it the fridge.
Now after a day,its time to make our yummy adhirasam.....who wants one?....:))
Make it into balls as shown below
 Flatten it with fingers
 As you can see,it takes very little oil.Keep the flame in e medium high when you slip the dough in the oil,then reduce it to medium.Dont over cook.It will just take a minute to make one adhirasam.
 Flip it over,let the flame be in medium and don't over cook :)) warning!!!!
 Press it with two ladles to drain the oil
 Adhirasam ready!!!!!!!!! phew........


Sweet Paniyaram

 Paniyaram..... a food that always makes me nostalgic.This is such a healthy food that requires very little oil/ghee ,yet gives you the satisfaction of indulging into a heavenly treat.My mom used to make it as a breakfast, and the left over panniyarams I used to eat it every now and then when I pass by the kitchen :) The batter iam using here is the one we make for kandarappam,which is another traditional delish .Well, in the midst of fatty foods and fast foods which are not healthy , iam happy to share with you all an authentic food which our parents and grandparents have grown up eating.Here you go.........

 
Ingredients
Raw rice-1 cup
Idly rice -1 cup
Urad dhal- 1/4 cup
Green gram dhal-1 table spoon
Thoor dhal-1 table spoon
Channa Dhal-1 table spoon
Jaggery -1 ½ cup
Grated coconut-(1/2 cocunut)
Cardamom  -6


Procedure :
Soak  Raw rice,Idly rice,Urad dhal,Green gram dhal,Thoor dhal and Channa Dhal for 1 hour. Grind it in the grinder  for 10 minutes. Now add the grated coconut and grind to a smooth paste. Finally add the powdered jaggery and the powdered cardamom and grind till the jaggery gets mixed well with the batter.
The batter should be in the consistency of dosa batter(neither watery nor very thick)

Step 1:
Heat the paniyaram  pan and add a drop of ghee/oil.I personally will recommend ghee for this.
There is no difference in the taste using ghee/oil, BUT the flavor/aroma that the ghee gives for any sweet is irreplaceable, irresistible, ir.... errrrrr.......


Step 2: Using a small ladle,fill the pan with the paniyaram batter to 3/4th as below.


Step 3: After a minute or so,you can see that the batter gets bulged on top and the sides browned.
It will look as picturized below.It is an indication that the bottom is cooked and time to flip the bottom side up.
 
Step 4: Now once the bottom side is flipped up,it will look as below.After 1 minute or so the other side will be cooked as well.When done transfer it to a plate and enjoy
 

Sunday, April 6, 2014

Pizza

Pizza Dough ingredients:
Bread flour - 4 cups
Warm water - 1 and 1/2 cups
Active dry yeast - 2  1/4 tsp
Olive oil - 2 Tbsp
Salt - 2 tsp
Sugar 1 tsp

Pizza Ingredients:
Olive oil - 2 Tbsp
Mushrooms -thinly sliced - 1 cups
Bell Pepper - thinly sliced - 1 cups
Onion - thinly sliced - 1 cup
Mozerella cheese - 2 cups
Chilli powder - 2 tsp
Curry masala powder - 2 tsp

Preparation:
Step1:
In the large bowl add the warm water. Sprinkle on the yeast and let sit for 5 minutes until the yeast is dissolved. Stir to dissolve completely if needed at the end of 5 minutes.

Step 2:
Then add in the olive oil, flour, salt and sugar and mix all the ingredients together on low speed for about a minute with the paddle attachment in the kitchen aid mixer. Remove the mixing paddle and replace with a dough hook. Knead using the mixer and dough hook, on low to medium speed, until the dough is smooth and elastic, about 10 minutes.  If the dough seems a little too wet, sprinkle on a bit more flour.
Step 3:
 Place ball of dough in a bowl that has been coated lightly with olive oil. Turn the dough around in the bowl so that it gets coated with the oil. Cover with plastic wrap. Let sit in a warm place (75-85°F) until it doubles in size, about 1 to 1 1/2 hours (or several hours longer, a longer rise will improve the flavor).
This dough can  freezed in an airtight container for up to two weeks for later use.


Preparing the Pizza:

1.Preheat the oven to 450°F for at least 30 minutes, preferably an hour.

2. Remove the plastic cover from the dough and punch the dough down so it deflates a bit. Divide the dough in half. Form two round balls of dough. Place each in its own bowl, cover with plastic and let sit for 10 minutes.
Take one of the dough and flatten it with your hands on a slightly floured work surface. Starting at the center and working outwards, use your fingertips to press the dough to 1/2-inch thick. Turn and stretch the dough until it will not stretch further. Let the dough relax 5 minutes and then continue to stretch it until it reaches the desired diameter - 10 to 12 inches. Use your palm to flatten the edge of the dough where it is thicker.

3.Brush the top of the dough with olive oil (to prevent it from getting soggy from the toppings). Use your finger tips to press down and make dents along the surface of the dough to prevent bubbling. Let rest another 5 minutes.

4.Add a scoop of tomatoe sauce on the top and spread the sauce evenly.
Then sprinkle a teaspoon of curry masala powder and chillie powder.


5.Add the vegetables as shown below.

6.Add a cup of mozerella/parmesan cheese on top as shown below.Finaaly sprinkle a tablespoon of olive oil on top.


7.Slide the prepared pizzas onto to a pizza stone or an iron dosa pan and place it in the oven which is preheated to 450°F and bake it for 10 to 15 minutes.

Why wait for door delivered pizza when you can make yours.Yummy pizza is ready to be eaten with the wings.(will post the recipe for the wings )